
by Tom Stephens
Welcome to another installment of the Knight Hawks encounter series. We'd love to hear your experiences playing these scenarios on the forums the Frontier Explorer website [1] or at editors@frontierexplorer.org [2]. In this issue we continue our encounters with some more possible starting scenarios from the Second Sathar War campaign game. In issue 1, the militia was seriously out numbered. This time we see encounters in systems with a progressively more firepower.
The second sathar war is heating up with a push on the Truane's Star System
Simultaneous with the assault on the Kisk-Kar system (issue 1 – Hopelessly Outgunned [4], p38), another Sathar fleet was detected in the Truane's Star system. The enemy composition is the same, but this time the defenders have a little more firepower at their disposal. As the only line of defense between Dixon's Star and the Prenglar system, the militia of the Truane's Star system is ready to make their stand with the ships they have. Will it be enough?
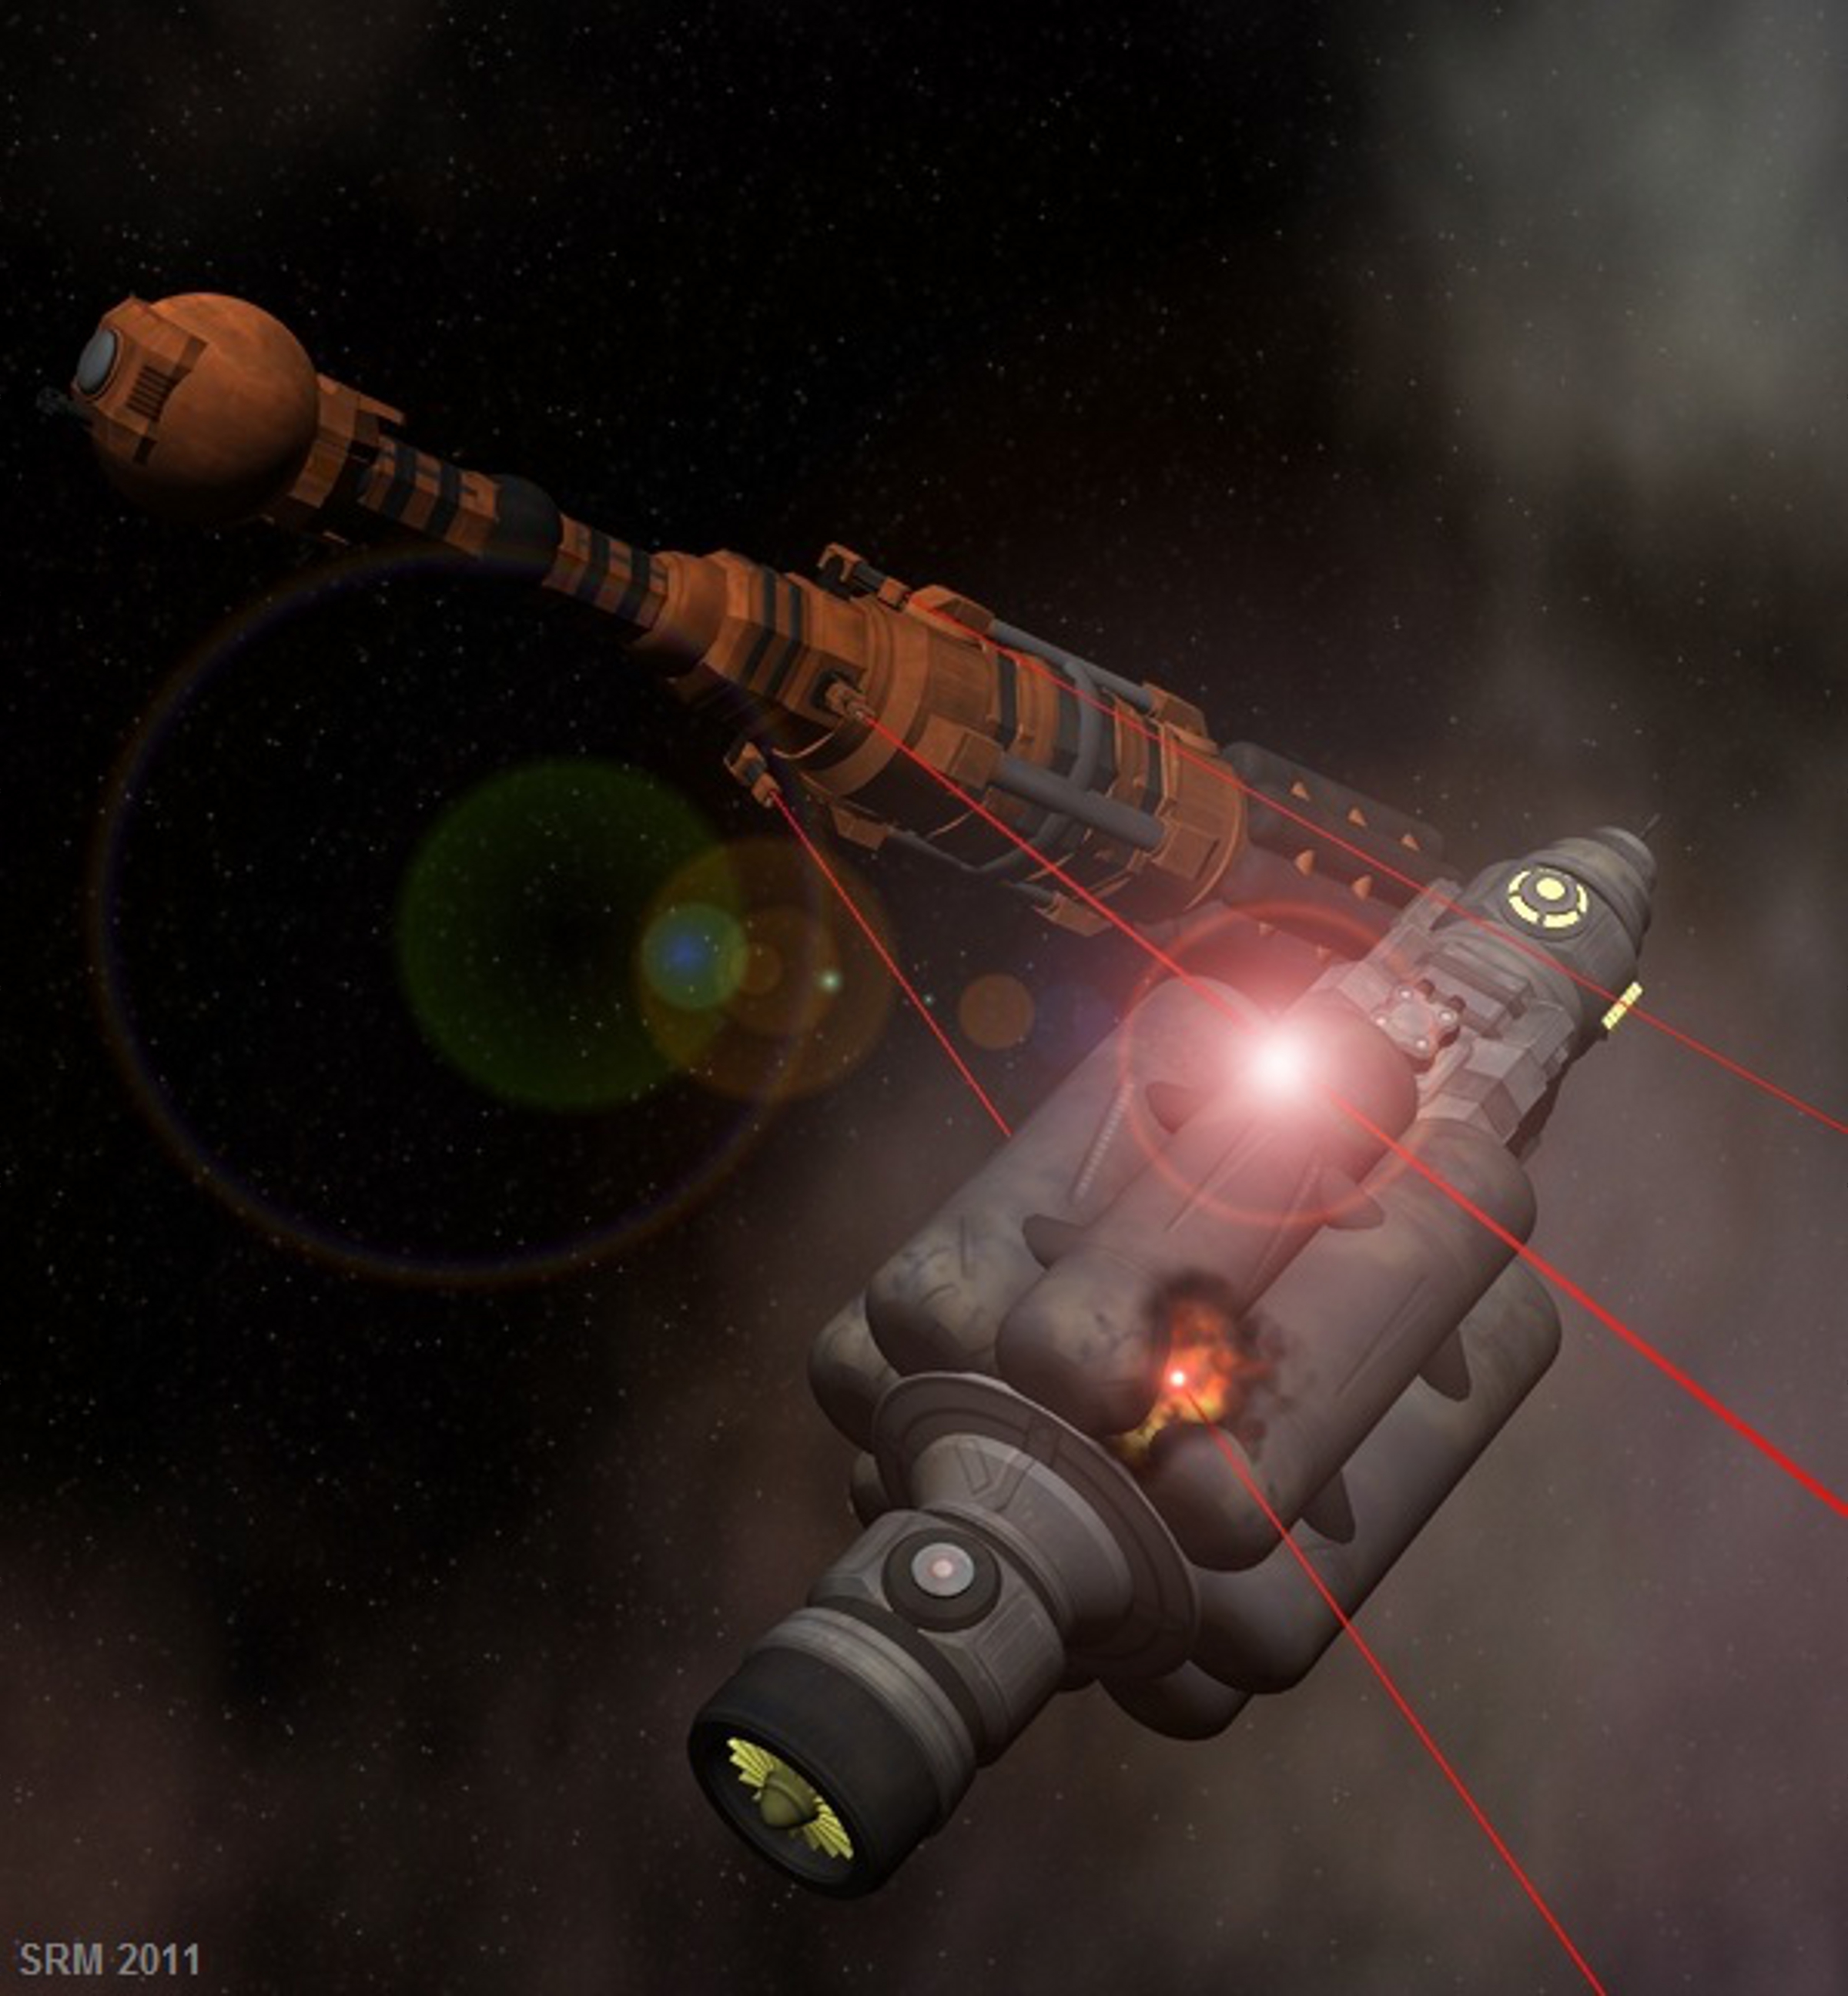
SatharAttack.jpg [3]
The Sathar player declares which side of the map the Sathar ships will be entering from.
The Militia player then places a planet marker in the center of the map, places the Fortress in orbit around it, and declares its orbital direction (clockwise or counterclockwise). They then place the militia ships anywhere on the map and declare their initial speeds up to a maximum of 10 hexes per turn.
Once the militia ships are placed, the Sathar player places their ships within five hexes of the side of the map they declared to be entering from. The ships can be moving at any speed up to 15 hexes per turn, but all ships must be moving at the same speed.
Rearm and repair – The assault scouts can take advantage of the Fortress to rearm and repair. If they dock with the station and spend 1 full turn docked, consider them to have replenished all their expended assault rockets. They also get a +10 DCR bonus per turn they spend at the station on the next repair turn. To dock with the station, an assault scout must end its turn in the same hex as the station and have a speed less than its current ADF. They are considered to have docked this turn. On the next turn they may rearm. They may then leave on any following turn with an initial speed of 0.
Note that it is possible for both sides to be able to claim a victory in this scenario.
The UPF score a minor victory if they can destroy at least three of the Sathar ships including the Heavy Cruiser. They score a major victory if all of the Sathar ships are destroyed.
The Sathar score a minor victory if the Fortress is destroyed but some of the militia ships remain. They score a major victory if all the militia ships and the Fortress are destroyed.
Ship StatisticsHere are the statistics for all the various ships used in the two scenarios in this issue. Assault ScoutHP: 15 ADF: 5 MR: 4 DCR: 50 Weapons: LB, AR(x4) Defenses: RH FrigateHP: 40 ADF: 4 MR: 3 DCR: 70 Weapons: LC, LB, RB(x4), T(x2) Defenses: RH, MS(x2), ICM(x4) DestroyerHP: 50 ADF: 3 MR: 3 DCR: 75 Weapons: LC, LB, EB, RB(x4), T(x2) Defenses: RH, MS(x2), ICM(x5) Light CruiserHP: 70 ADF: 3 MR: 2 DCR: 100 Weapons: DC, LB, EB, PB, RB(x8), T(x4) Defenses: RH, ES, SS, ICM(x8) Heavy CruiserHP: 80 ADF: 2 MR: 1 DCR: 120 Weapons: DC, LB(x2), PB, EB, RB(x8), T(x4), S(x2) Defenses: RH, ES, PS, SS, ICM(x8) Armed StationHP: 80 ADF: 0 MR: 0 DCR: 75 Weapons: LB, RB(x6) Defenses: RH, MS(x2), ICM(x6) FortressHP: 300 ADF: 0 MR: 0 DCR: 200 Weapons: LB(x3), EB, PB, RB(x12) Defenses: RH, MS(x3), ES, PS, ICM(x20) |
Do the combined militias finally have the upper hand?
The final Sathar fleet of the initial attack was detected entering the Fromeltar system. Like the previous attacks, the composition of the fleet was the same. The Sathar seem to like this ship mix. However, this time they might have bitten off more than they can chew. Upon detecting the Sathar ships, a distress call went out. Task Force Cassidine was immediately dispatched toward Dramune and the two militias of Dramune, along with a UPF Destroyer that was in the system, began a risky high speed transit to Fromeltar. The risk jump was successful and all ships arrived safely in the Fromeltar system. The timing was close but the ships from Dramune arrived just as the Sathar began the assault on Terldrom.
The Sathar player declares which side of the map the Sathar ships will be entering from.
The Fromeltar Militia player then places a planet marker in the center of the map, places the Armed Station in orbit around it, and declares its orbital direction (clockwise or counterclockwise). They then place the Fromeltar militia ships anywhere on the map and declare their initial speeds up to a maximum of 10 hexes per turn.
Once the Fromeltar militia ships are placed, the Sathar player places their ships within five hexes of the side of the map they declared to be entering from. The ships can be moving at any speed up to 15 hexes per turn but all ships must be moving at the same speed.
Finally, the Outer Reach militia ships and UPF destroyer are placed within 5 hexes of the opposite side of the map from the Sathar. They may have any initial speed up to 20 hexes per turn but all ships must have the same starting speed.
None. This is a fight to death between the two sides.
Note it is possible for both sides to claim victory in this scenario.
The Sathar score a minor victory if they manage to destroy the station, the UPF destroyer and at least 5 other ships including two of the militia frigates or destroyers. They claim a major victory if they destroy all of the UPF and militia ships and the station.
The UPF and militias can claim a minor victory if they destroy all the Sathar ships but the station is destroyed or over half of the militia ships are destoryed. They can claim a major victory if the Sathar ships are destroyed and the station and at least half of the militia ships survive.
Links
[1] http://frontierexplorer.org/forum
[2] mailto:editors@frontierexplorer.org
[3] http://www.frontierexplorer.org/content/sathar-attack
[4] http://www.frontierexplorer.org/book/make-run-it